Photography Basics (Part 1)
You have bought your first camera, press the shutter enthusiastically, look at the picture and realize "Oh, I could have stayed with my smartphone".
The reason the picture didn't turn out as nice as you wanted it to be may be that you haven't mastered the basics of photography yet. But don't worry, you can learn them quickly.
If you understand how aperture, shutter speed, and ISO affect your image, you can already influence a lot.
You will find all three terms explained below. If you're at the very beginning and you just want to get started quickly and too much information will only distract you, then read only the basics. If you're curious about a few more details, take a look at the advanced knowledge.
aperture
Basic knowledge
The aperture determines how much light hits your sensor. It is the opening in your lens through which the light is passed. The larger the aperture, the more light reaches the sensor. On your camera, the aperture is shown with a small number e.g. f1.8 . It's easy to get confused here, because the smaller this number is, the larger the aperture. The largest possible aperture is determined by the lens.
In addition, the aperture affects how sharp or blurry your foreground and background are. The rule of thumb here is: the larger the aperture (i.e. the smaller the f-number), the blurrier the foreground and background become. This is referred to as the area of sharpness, which becomes smaller with a larger aperture. Everything in this focus area is sharp and everything outside this area (i.e. the foreground and background) is out of focus.
So if you want your entire image to be sharp, you need to close the aperture as much as possible and thus increase your focus area.
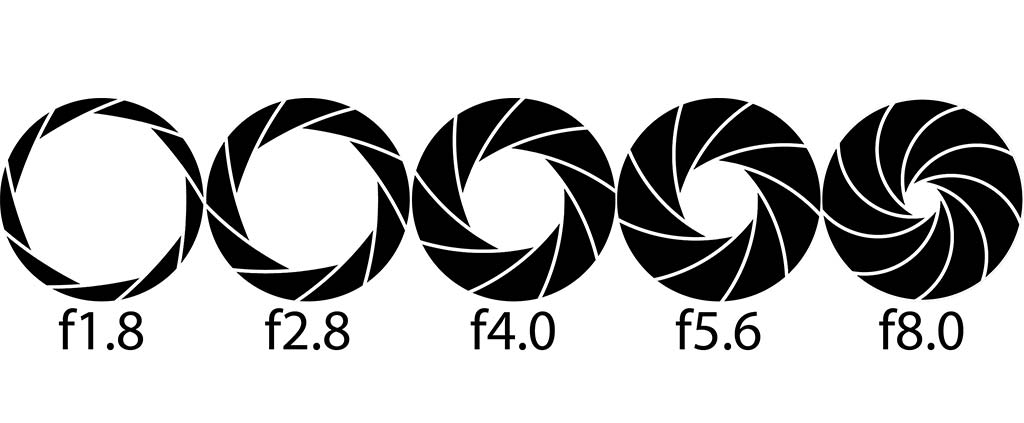
Advanced knowledge:
If you have a wide open aperture and so the background is nice and blurry, the shape of the aperture will affect how the bokeh or out-of-focus circles look. To get the best possible bokeh, lens manufacturers often try to make the aperture as round as possible.
There is a deviation from the rule of thumb in basic knowledge in real life. Each lens has a specific range where it is sharpest. According to the rule described above, we should think that the image becomes sharper and sharper the further we close the aperture. In relation to the foreground and background, this is also true. However, this is only partially true for the object in focus. This is because, at the edges of the aperture, the light is bent so that it no longer hits the sensor where it should (simply speaking). This is called diffraction blur. So the smaller the aperture, the more likely it is that the light will be bent, and the more likely it is that some blurring will occur.
In addition, aberrations occur at the edges of the lens, which in turn cause blurring. These can be faded out by reducing the aperture. So in the extreme ranges (open aperture and when the aperture is closed very wide), the optical properties of the lens cause the image to become blurrier. In expensive lenses, such errors are elaborately minimized so that you can use them over the complete aperture range without hesitation. With inexpensive lenses, it can be an advantage to stop them down a little, but not too far either.
ISO
Basic knowledge
The ISO value expresses the set light sensitivity of the sensor. The higher the value, the more sensitive the sensor. With higher ISO values, however, the image quality can suffer a bit. This is then shown by image noise, a certain loss of sharpness, and sometimes also by less saturated colors. So you want to try to keep the ISO as low as possible. With modern cameras, however, you can easily set values up to ISO 800 without noticeable loss of quality.
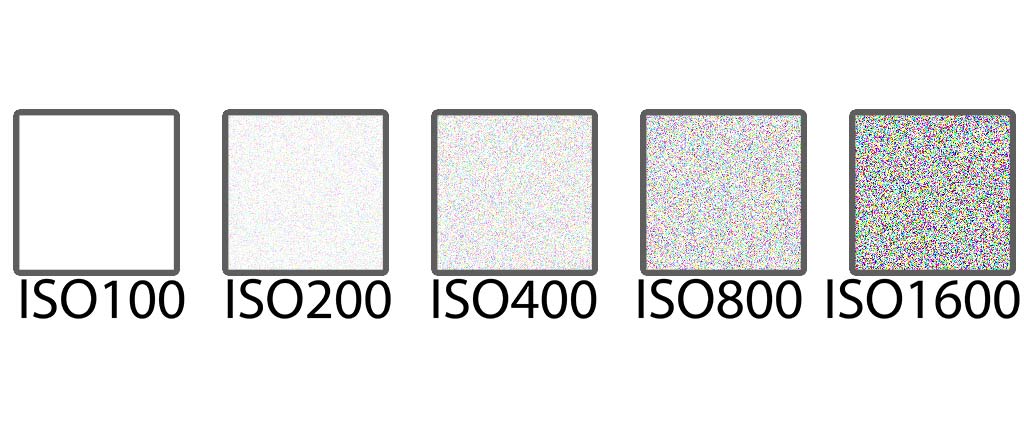
The noise is exaggerated here for clarity.
Advanced knowledge:
There is not much more to say about ISO, as more examples will be shown later. But this much is already revealed: If noise occurs due to high ISO values, you have two types of noise here. One is so-called luminance noise (i.e. changes in brightness) and color noise. Especially the color noise can be reduced very well with image editing programs. Removing luminance noise is a bit more difficult because removing it usually increases the blurriness in the image. However, in this case, you should ask yourself how much the noise in the image really bothers you. Walk the streets with your eyes open and look at large advertising posters. Here you will find some examples where you can still see noise.
shutter speed
Basic knowledge
Exposure time determines how long light is allowed onto your sensor. Thus, the exposure time also affects the sharpness in your image. Because the longer you expose, the more likely your image will be blurred due to movement. The exposure time in your camera is usually displayed as a fraction, e.g. 1/100. This describes that in this case your image is exposed one-hundredth of a second. For longer exposures, the seconds are often represented with a " (e.g. 30" means 30 seconds exposure).
For the beginning you should remember as a rule of thumb that your exposure time should not be longer than the reciprocal of your focal length (so with a 300mm lens you should expose a maximum of 1/300s).
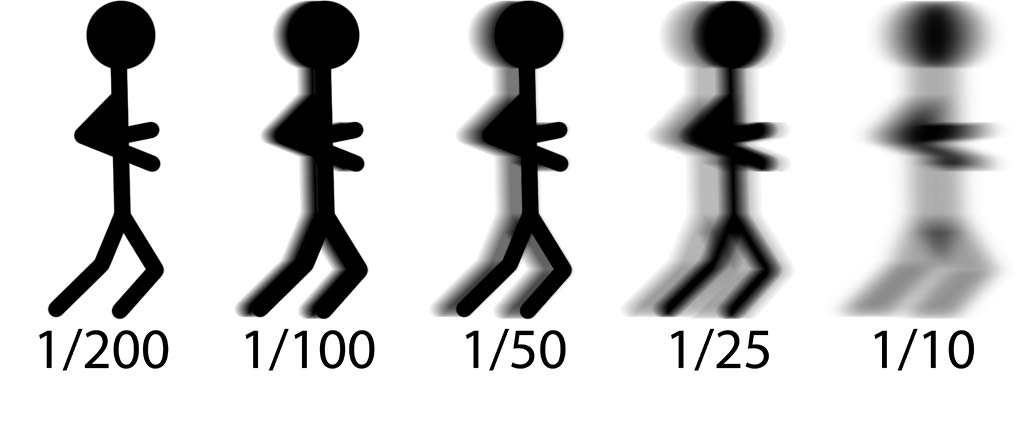
Advanced knowledge:
Manchmal ist die sogenannte Bewegungsunschärfe aber genau das, was wir wollen. For example, you can use a long exposure time to make movement visible, water becomes completely smooth, or people disappear from your image in a seemingly magical way.
Make movement visible
You've probably seen pictures where, for example, the legs of walking people are blurred. This makes it clear that they are walking. For this you use exposure times of about 1/40s. Often you are at the limit of the exposure time you can still shoot handheld. A tripod can help you with this.
Make water look all smooth and make people disappear
The relationship between ISO, aperture and exposure time
Nachdem wir nun die drei wichtigsten Einstellungen in der Fotografie besprochen haben, gehen wir auf das Zusammenspiel dieser Einstellungen anhand einiger Beispiele ein.
In advance, the rules of thumb summarized again:
Aperture: As open as possible to make foreground and background as blurred as possible.
Exposure time: The longest exposure time should be at most the reciprocal of the focal length in order to be able to photograph sharp images handheld.
ISO: The ISO value should be as low as possible so that the image quality is as high as possible.
Now for the examples:
Example 1
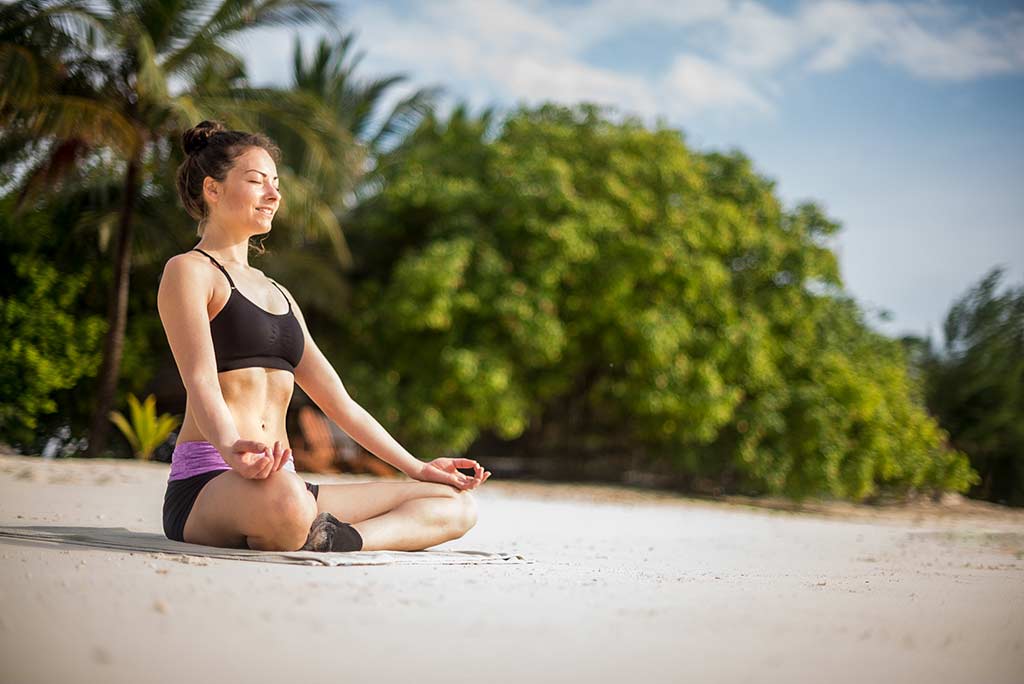
You want to take a portrait at midday when it's very bright and you want to get as blurry a background as possible.
The important properties you want to have in the image determine the settings here. For the blurred background, set the aperture as large as possible (e.g. f1.8). You also want to have a high image quality and set the ISO value as low as possible (e.g. ISO100). Since you want a photo that is exposed just right, your environment now determines the exposure time. If it is really bright, an exposure time of 1/2000s or 1/4000s is possible here.
Make movement visible
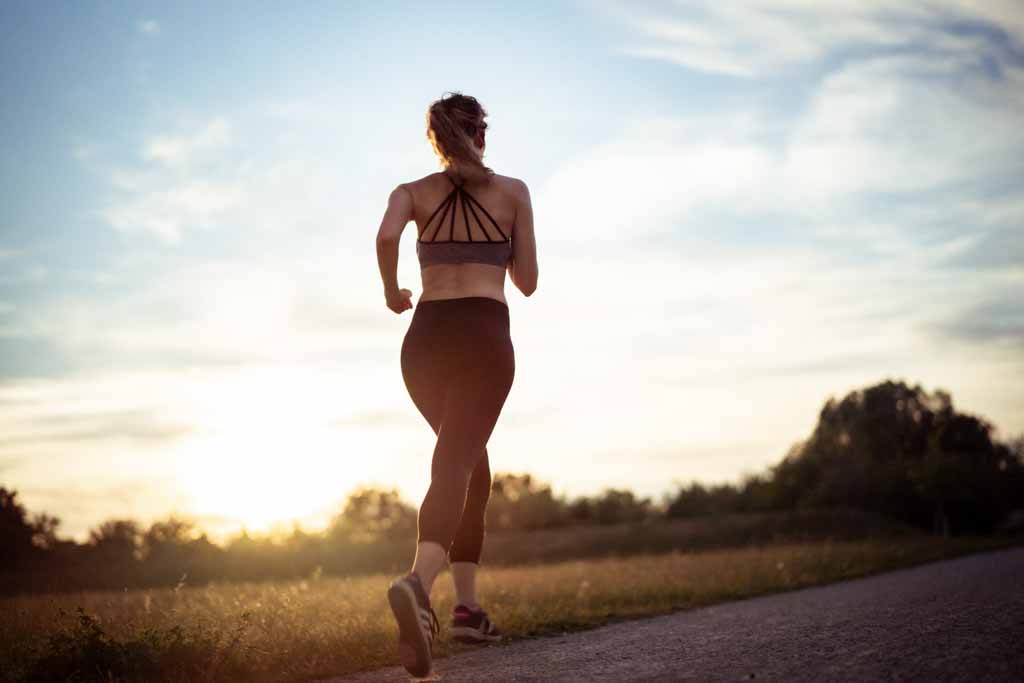
You want to photograph an athlete running at dusk and have no motion blur in the image.
You will quickly notice how little light there is only at dusk. But especially when an athlete is running fast, you need a fairly short exposure time. I would recommend you use at least a 1/400s, although you may still have motion blur in the image here. So if you can, go for an even shorter exposure time.
To get as much light as possible onto the sensor, you also open an aperture as wide as possible here.
Now try to find the perfect balance between exposure time and ISO value. You may have to go to values of ISO6400 or higher to stay at 1/400s. This can visibly reduce the image quality, but in the end you have to ask yourself: is it better to have a sharp image with a bit of reduced quality or an image that is not sharp but has high quality.
Example 3
You want to photograph a group in a hall.
Here it is important to make sure that all persons are still shown as sharply as possible. Therefore, you set a not too small focus range, e.g. with aperture f8.0. Set the ISO value as low as possible so that you can still set exposure times with which you can shoot handheld (possible settings here: ISO 800 exposure time 1/100s).
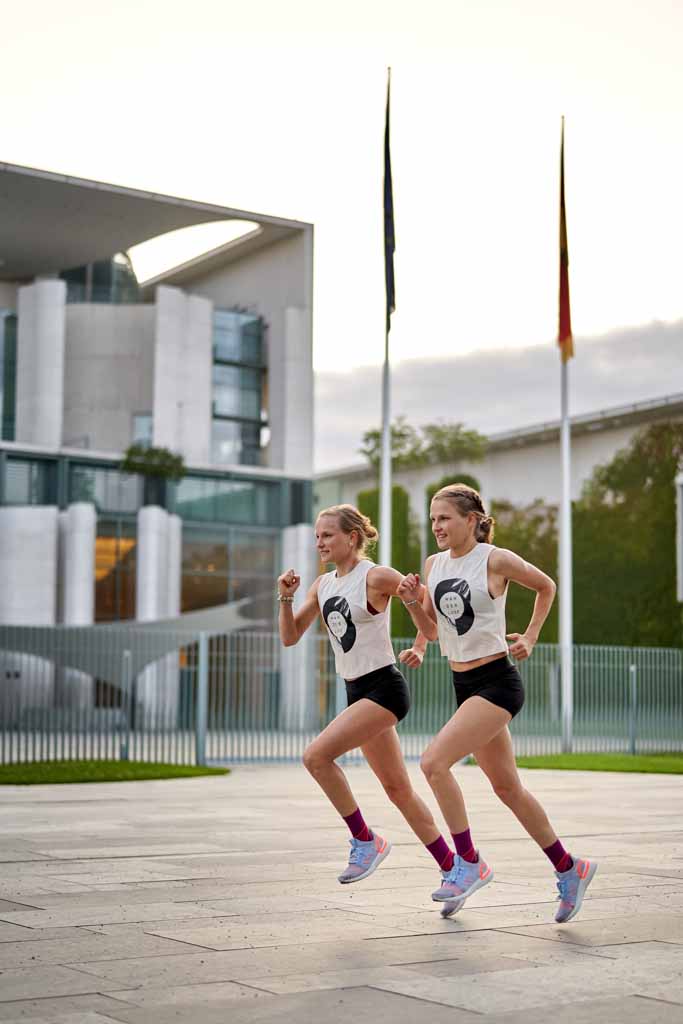
This is not a group picture, but the same procedure applies.
In summary, you always have to adjust your settings to the given situation. You always have an interplay of aperture, exposure time and ISO. Due to the circumstances (e.g. the existing ambient light or the kind of photo you want to create e.g. a sports photo) you will quickly find good values for two of these settings that you want to take. You can then let your camera determine the third value since they are equipped with good automatic functions for such situations. But more about that in later articles.
With this knowledge, you can begin to target your photos. But if you don't have a camera yet, it will be hard to implement this tip. What you should consider when buying a camera, you can read it here and if you are interested in what I (mainly) work with, you can find this info here.
If you have any questions, feel free to post them in the comments.


